Nissan Pathfinder: Power Outlet - Removal and Installation
Power Socket Nissan Pathfinder 2022
FRONT POWER SOCKET (FOR CIGARETTE LIGHTER)
Removal
Remove wireless charger unit. Refer to Removal and Installation.
Remove front console tray. Refer to Exploded View.
Release pawls and remove front power socket from front console tray.
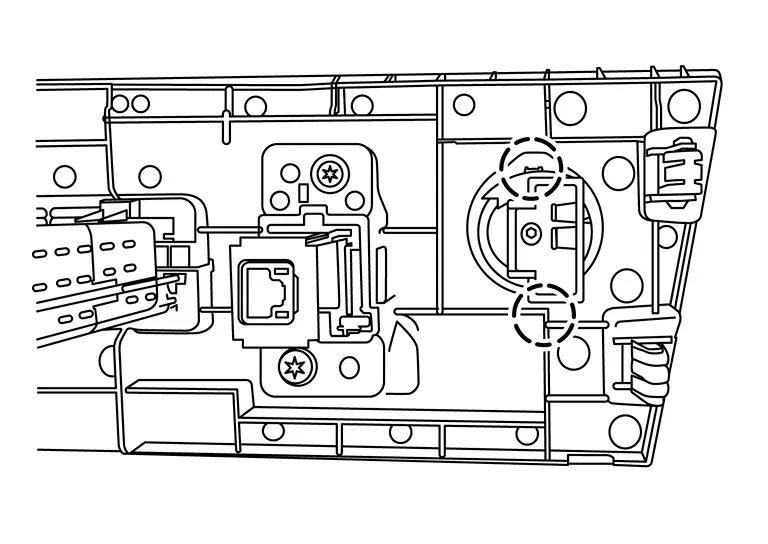
 |
: Pawl |
Installation
Installation is in the reverse order of removal.
 NOTE:
NOTE:
Make sure to align the tab with the square notched area during installation.
CONSOLE POWER SOCKET
Removal
Remove center console rear finisher. Refer to Removal and Installation.
Disconnect harness connector from console power socket.
Release pawls and remove console power socket from center console rear finisher.
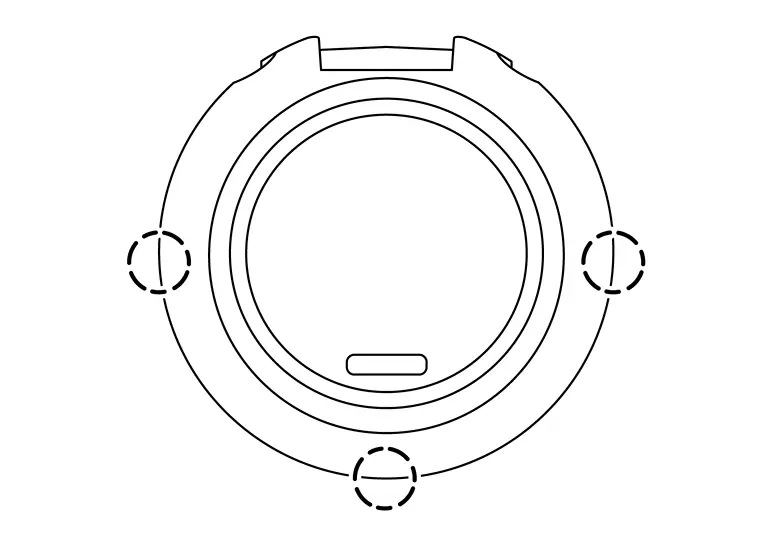
 |
: Pawl |
Installation
Installation is in the reverse order of removal.
REAR CARGO POWER SOCKET
Removal
Partially remove the luggage side lower finisher (LH). Refer to Removal and Installation.
Disconnect harness connector from rear cargo socket.
Remove rear cargo power socket.
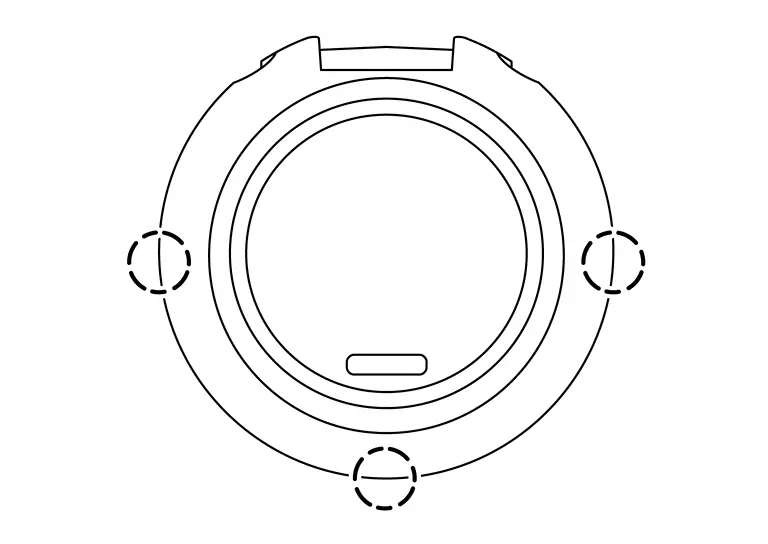
 |
: Pawl |
Installation
Installation is in the reverse order of removal.
Usb Charge Port Nissan Pathfinder Fifth generation
2ND ROW USB CHARGE PORT
REMOVAL
Remove the center console rear finisher. Refer to Disassembly and Assembly.
Disconnect the harness connector from the 2nd row USB charge port.
Release pawls and remove 2nd row USB charge port (1) from center console rear finisher.
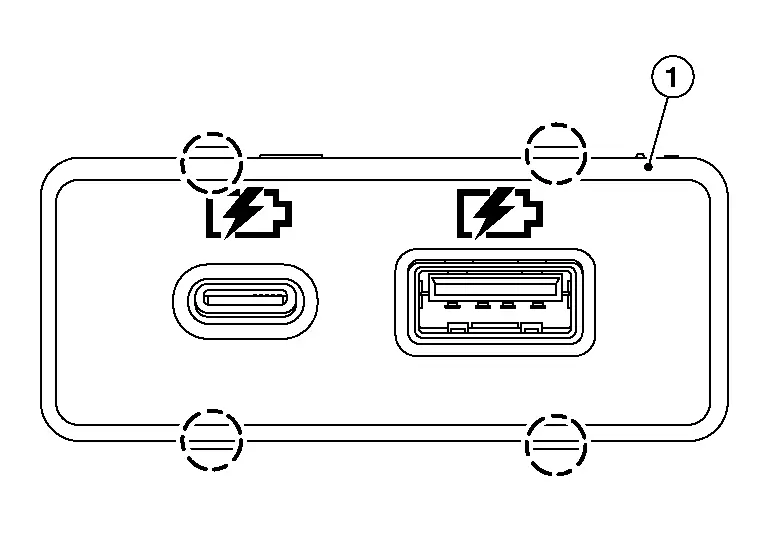
 |
: Pawl |
INSTALLATION
Installation is in the reverse order of removal.
3RD ROW USB CHARGE PORT
REMOVAL
Using a suitable tool, remove cup holder from luggage side lower finisher. Refer to Exploded View.
Disconnect 3rd row USB charge port harness connector from 3rd row USB charge port.
Using suitable tool, release pawls and remove 3rd row USB charge port from cup holder.
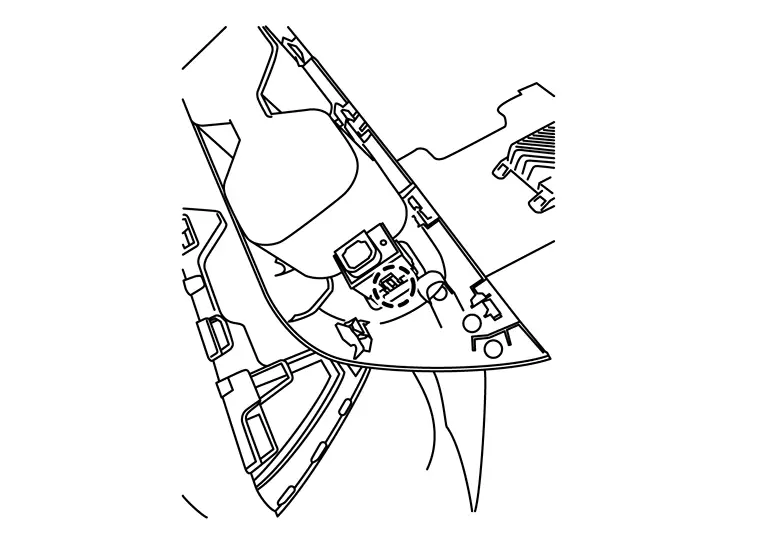
 |
: Pawl |
INSTALLATION
Installation is in reverse order of removal.

Nissan Pathfinder (R53) 2022-2026 Service Manual
Removal and Installation
Contact Us
Nissan Pathfinder Info Center
Email: info@nipathfinder.com
Phone: +1 (800) 123-4567
Address: 123 Pathfinder Blvd, Nashville, TN 37214, USA
Working Hours: Mon–Fri, 9:00 AM – 5:00 PM (EST)
